

Eight years ago I walked the Camino de Santiago along the Camino Frances for the first time. Since then I have walked various other routes to Santiago over a dozen times. Prior to my first camino, I was already an experienced hiker, but that first camino was hard, very hard. I suffered with shin splints and dozens of blisters.
The reason for my suffering was simple. I wore the wrong shoes. I went into the Camino like I would any other mountainous remote hike. I wore my tried and trusted trekking boots that had taken me to the base of Mt. Everest, through Yosemite, Patagonia and more. I thought I would have no troubles on the Camino. I’d hiked in much more harsh conditions.
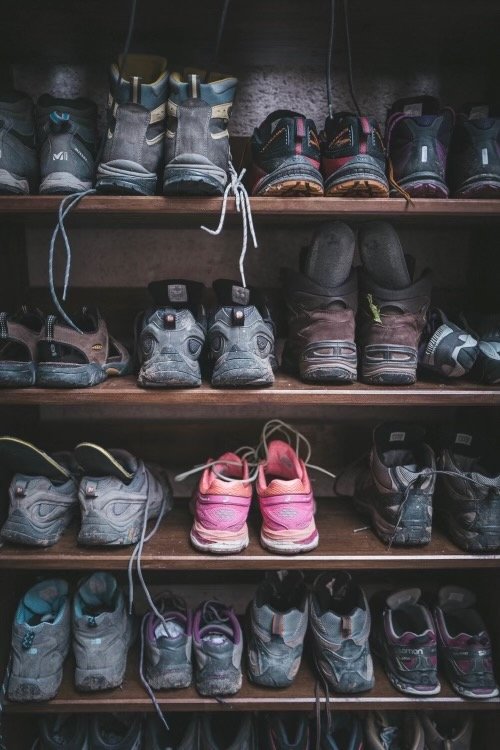
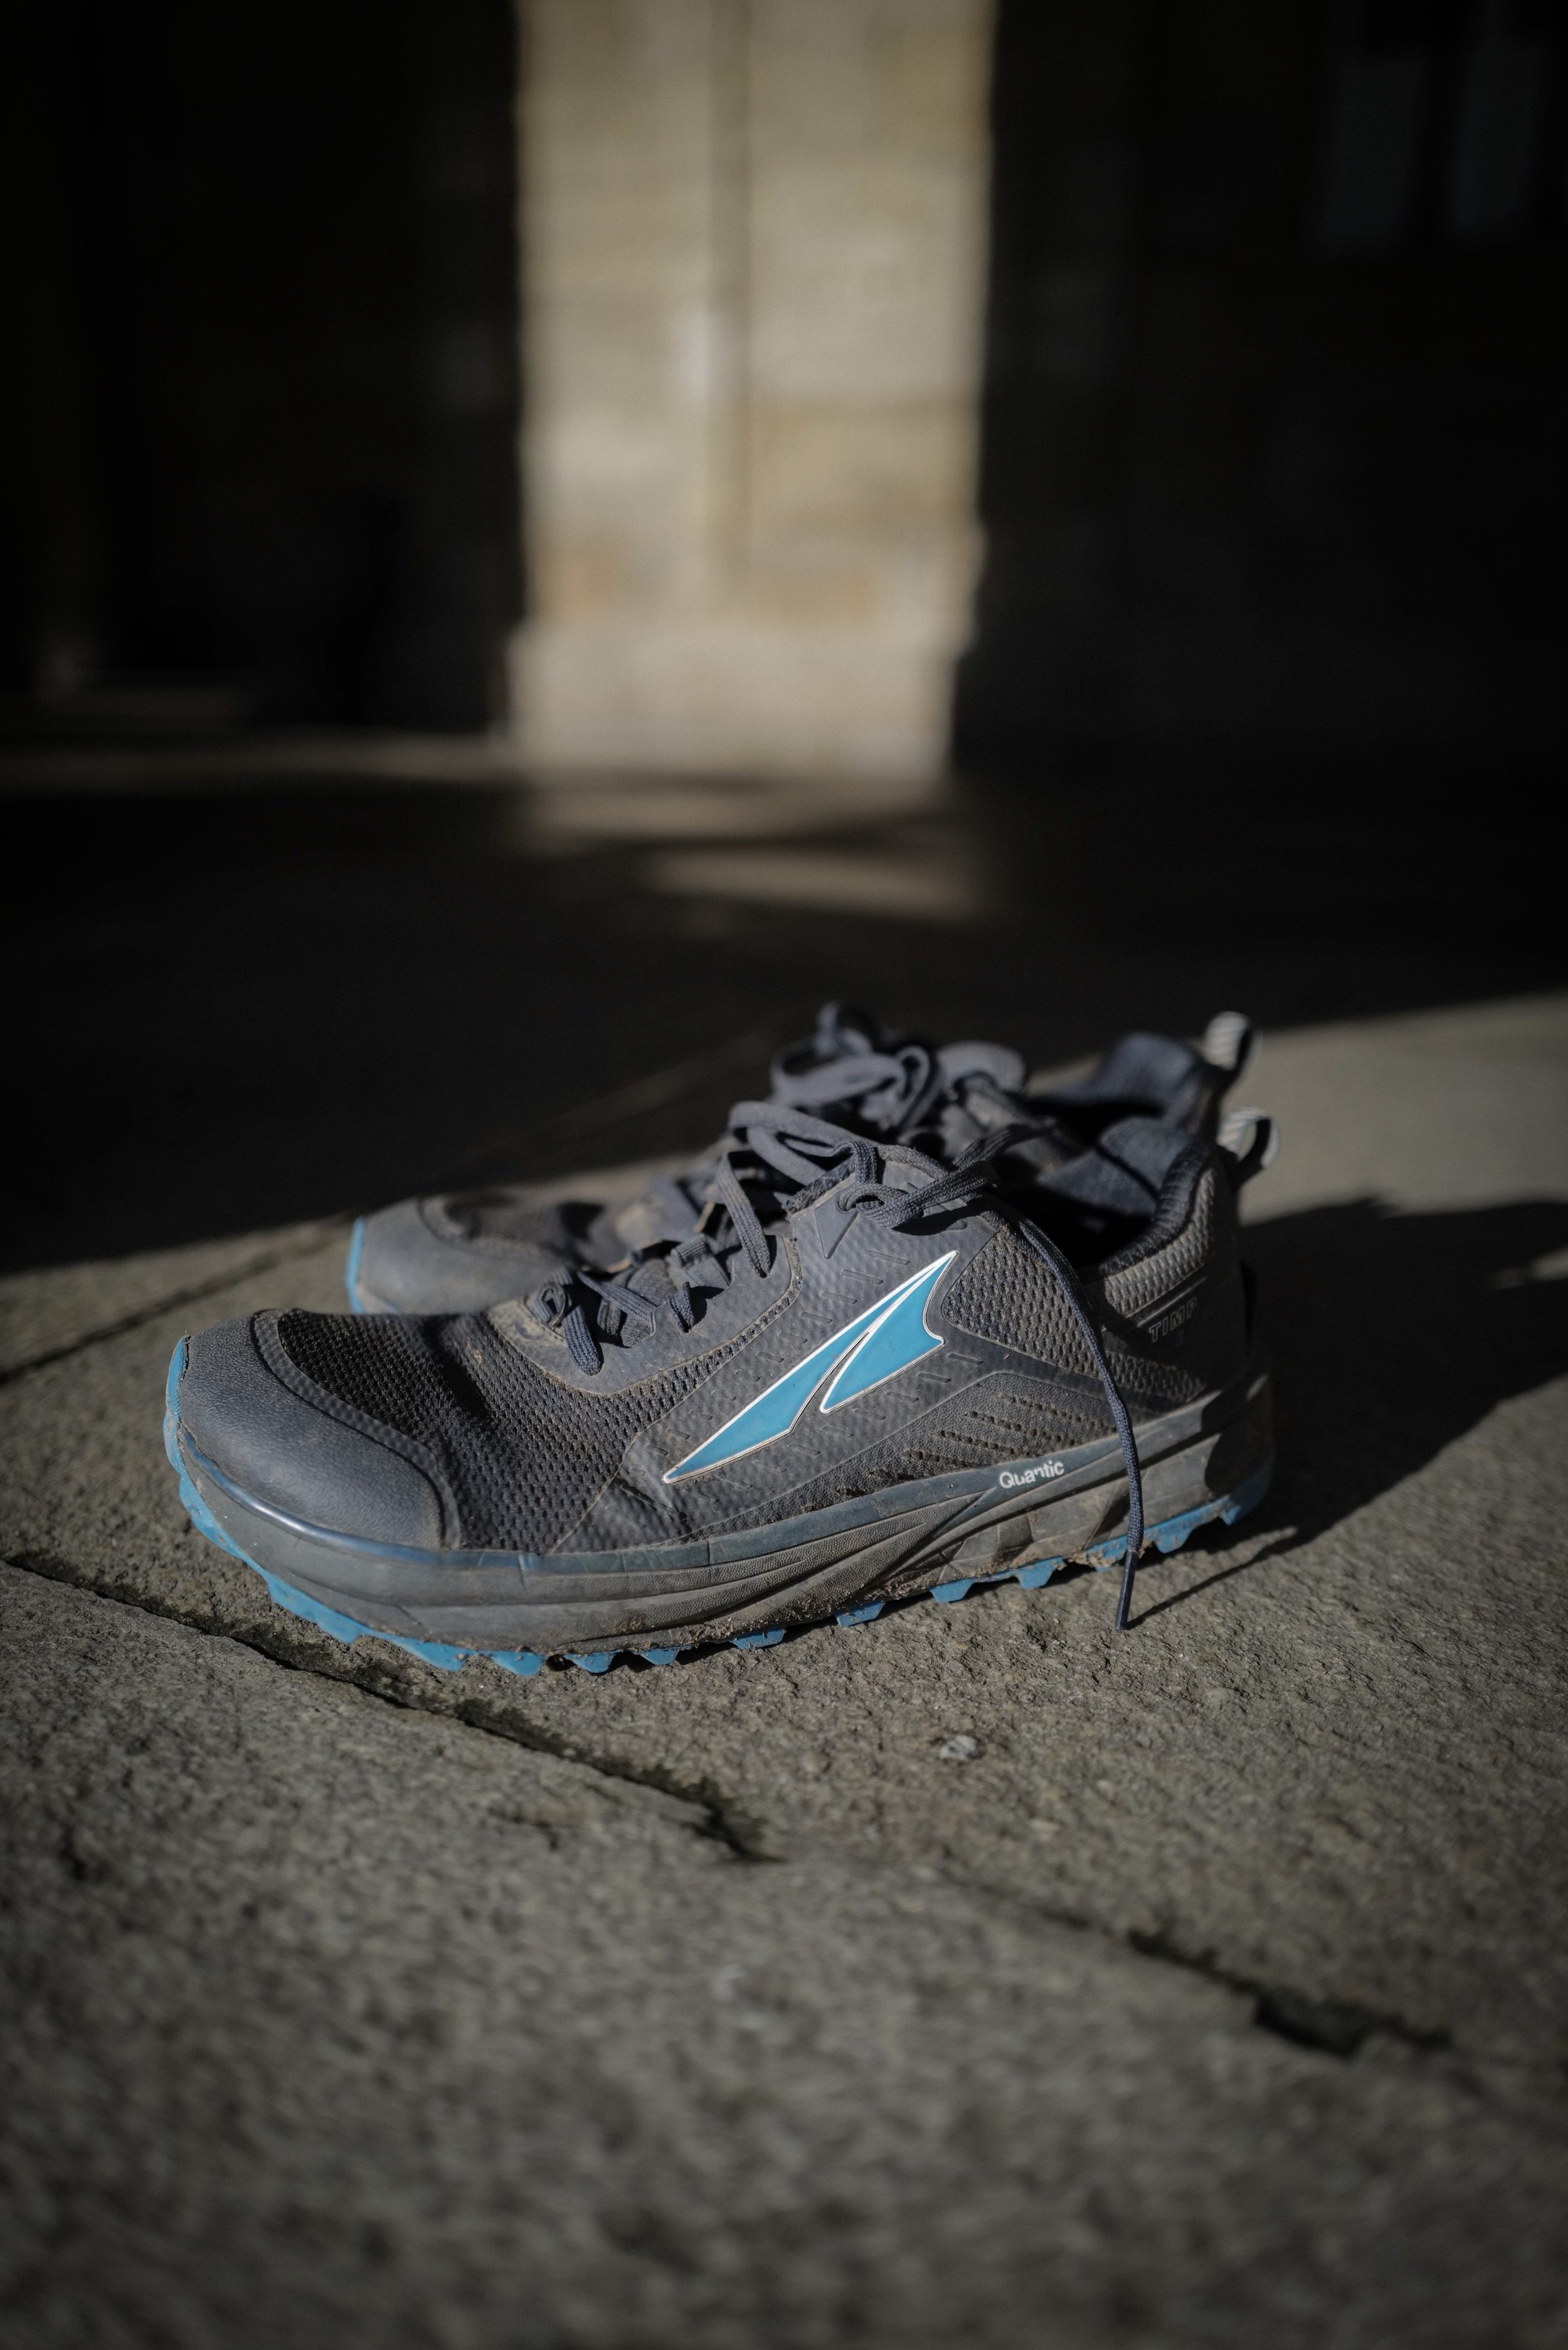
The many variety of shoes on the Camino de Santiago
Let’s get this out of the way first, the Camino, especially the Frances is predominantly an urban hike. I’d estimate about 70% of the trail is either hard packed dirt and gravel tracks or road. Depending on which route you decide to take to Santiago, that percentage will change, but it’s safe to say that the mix will still be 50-60% on harder surfaces.
I chose the wrong shoes for the camino. More specifically, I chose the wrong shoes for me. The key phrase here is for me. Everybody has different feet that have been shaped and impacted by your life over countless years. I have spent the majority of my life running at least 10km a day. This has impacted my feet through collapsing of my arches, tenderness in the balls of feet, and thanks to thousands of miles of hiking, gnarled twisted toe nails. Everybody is different. Chasing the right shoe should be based on understanding what are essential features for you.
The essentials of the right shoe for you
So how do you pick the right footwear for you? It is easy to get swayed on marketing hype, the latest trend, or even colors. For the camino, you should use trail runners, not boots. Boots are simply too heavy with numerous studies concluding the weight of shoes can significantly increase the change of injury. If you are selecting boots due to the need for ankle support, hold that thought for just a moment. I will address it shortly.
Overall, I highly encourage you to make your decision based on the essential elements of shoes, and what is most important to you. There are no bad shoes, just the right or wrong shoe for you. As you go through this list, take a piece of paper and rank the essentials for what is most important to you. Once you have a prioritized list, shoe finders on companies websites such Hoka, are invaluable for narrowing your selection down. Each time you purchase a new pair of shoes, go through this prioritization again as over time your needs will change.
Stability & Support
Many shoes are designed with additional stability controls to reduce supination or pronation when your foot strikes. In simple terms, does your foot and ankle roll outwards (supination) or inwards (pronation). This is generally determined by how much of an arch you have in your foot. If you are not sure, next time you get out of the shower, put a towel on the floor and step on it with wet feet. Do you see a dry section where your arch is? If so, you have normal to high arches. If not, you have collapsed arches, otherwise known as flat feet.

What type of arches do you have?
Flat feet
If you have flat feet, prioritize a shoe with stability control. Most brands carry one or two stability shoes, or at least have supportive mid sections to reduce roll. You want a higher fit around the mid section and ideally a stability cup in the heel. Brooks Cascadia or Topo Traverse are two excellent examples. Steer clear or Altra, a very popular brand amongst thru-hikers, they are very loose fitting around the mid section. The Alta Timp is perhaps the best in their line up if stability isn’t your highest priority. I have flat feet, but wore Altra’s for years because stability wasn’t my highest priority at the time. Lone Peak’s never quite worked for me, but I was very happy with the Timp when paired with an insole such as the Superfeet Hike Support
High arches
If you have high arches you likely do not roll your feet and can therefore get away with neutral support shoes. The great news is that there are a huge selection of neutral support shoes, significantly more than stability: Altra Lone Peak, Topo Ultraventure, Hoka Speedgoat, and dozens more. Stability isn’t a high priority for you. The only bit of advice I would suggest is be more selective on the insole you choose. Incorrectly adding an insole with a high arch is likely to cause you blisters on the midsole. Try something like the Superfeet Black insoles.
Wide fit
Along with arch and heel support, stability can be effected by the width of the shoe. Many more running orientated trail runners such as the Hoka Speedgoat or Salomon Speed Cross run very narrow in the mid and toe sections. If a wide mid shoe is a priority, look for the option at check out to choose wide or extra wide versions. Just keep in mind that some brands are naturally designed with a wider feet in general and a likely a better choice for you. Altra shoes generally run wide, and brands like Brooks offer wide fit options too.
Ankle support
Many people have issues with weak ankles or a tendency to roll their ankle. They immediately gravitate to hiking boots with ankle support. A few years ago, this may be a valid decision, but in recent years a number of brands have begun releasing trail runners with high ankle support, giving you the best of both worlds. The Altra Lone Peak Hiker, Topo Trailventure, and Hoka One are good examples of these.

Understanding pronation and supination is key to choosing the right shoe for you
If you are prone to rolling your ankle, in particular, I would also suggest an alternate approach rather than opting for an ankle support trail running. Look more closely at cushioning needs which I will describe more fully in the next section, but at a high level, too much cushioning equals less trail feel which can result in a higher likelihood of rolling your ankle on rocks and tree roots. Remember, the camino is generally flat, with the Norte and Via Podiensis being more hilly in sections. You really don’t need high ankle support. The extra weight on your feet over the course of a long distance hike is likely to contribute more to potential injury than the possibility of rolling an ankle.
Cushioning
Cushioning refers to the amount of padding which is in the midsole of the shoe. The amount of cushioning your need is very much down to personal preference with some people preferring very plush shoes such as Hoka SpeedGoat and On CloudWanderer with others happy with very little through shoes such as the Altra Lone Peak.
Shoes with a lot of padding after often described as having a high stack height; literally the height of the cushioning is staked higher in the shoe. I’m a little cautious recommending high stack height shoes because they increase the risk of rolling your ankle because your foot is higher off the ground and all of that cushioning reduces the ability for your foot to feel what is underneath. You can’t react to a rock, branch, or root if you can’t feel it. Where I do recommend a higher stack height is if you are planning a camino route that has more road walking than others. The Norte, Portguese from Lisbon, or Via de la Plata are examples of routes with a high degree of asphalt and concrete to traverse. I wore Altra Olympus on my Norte hike for that exact reason and am glad I did.
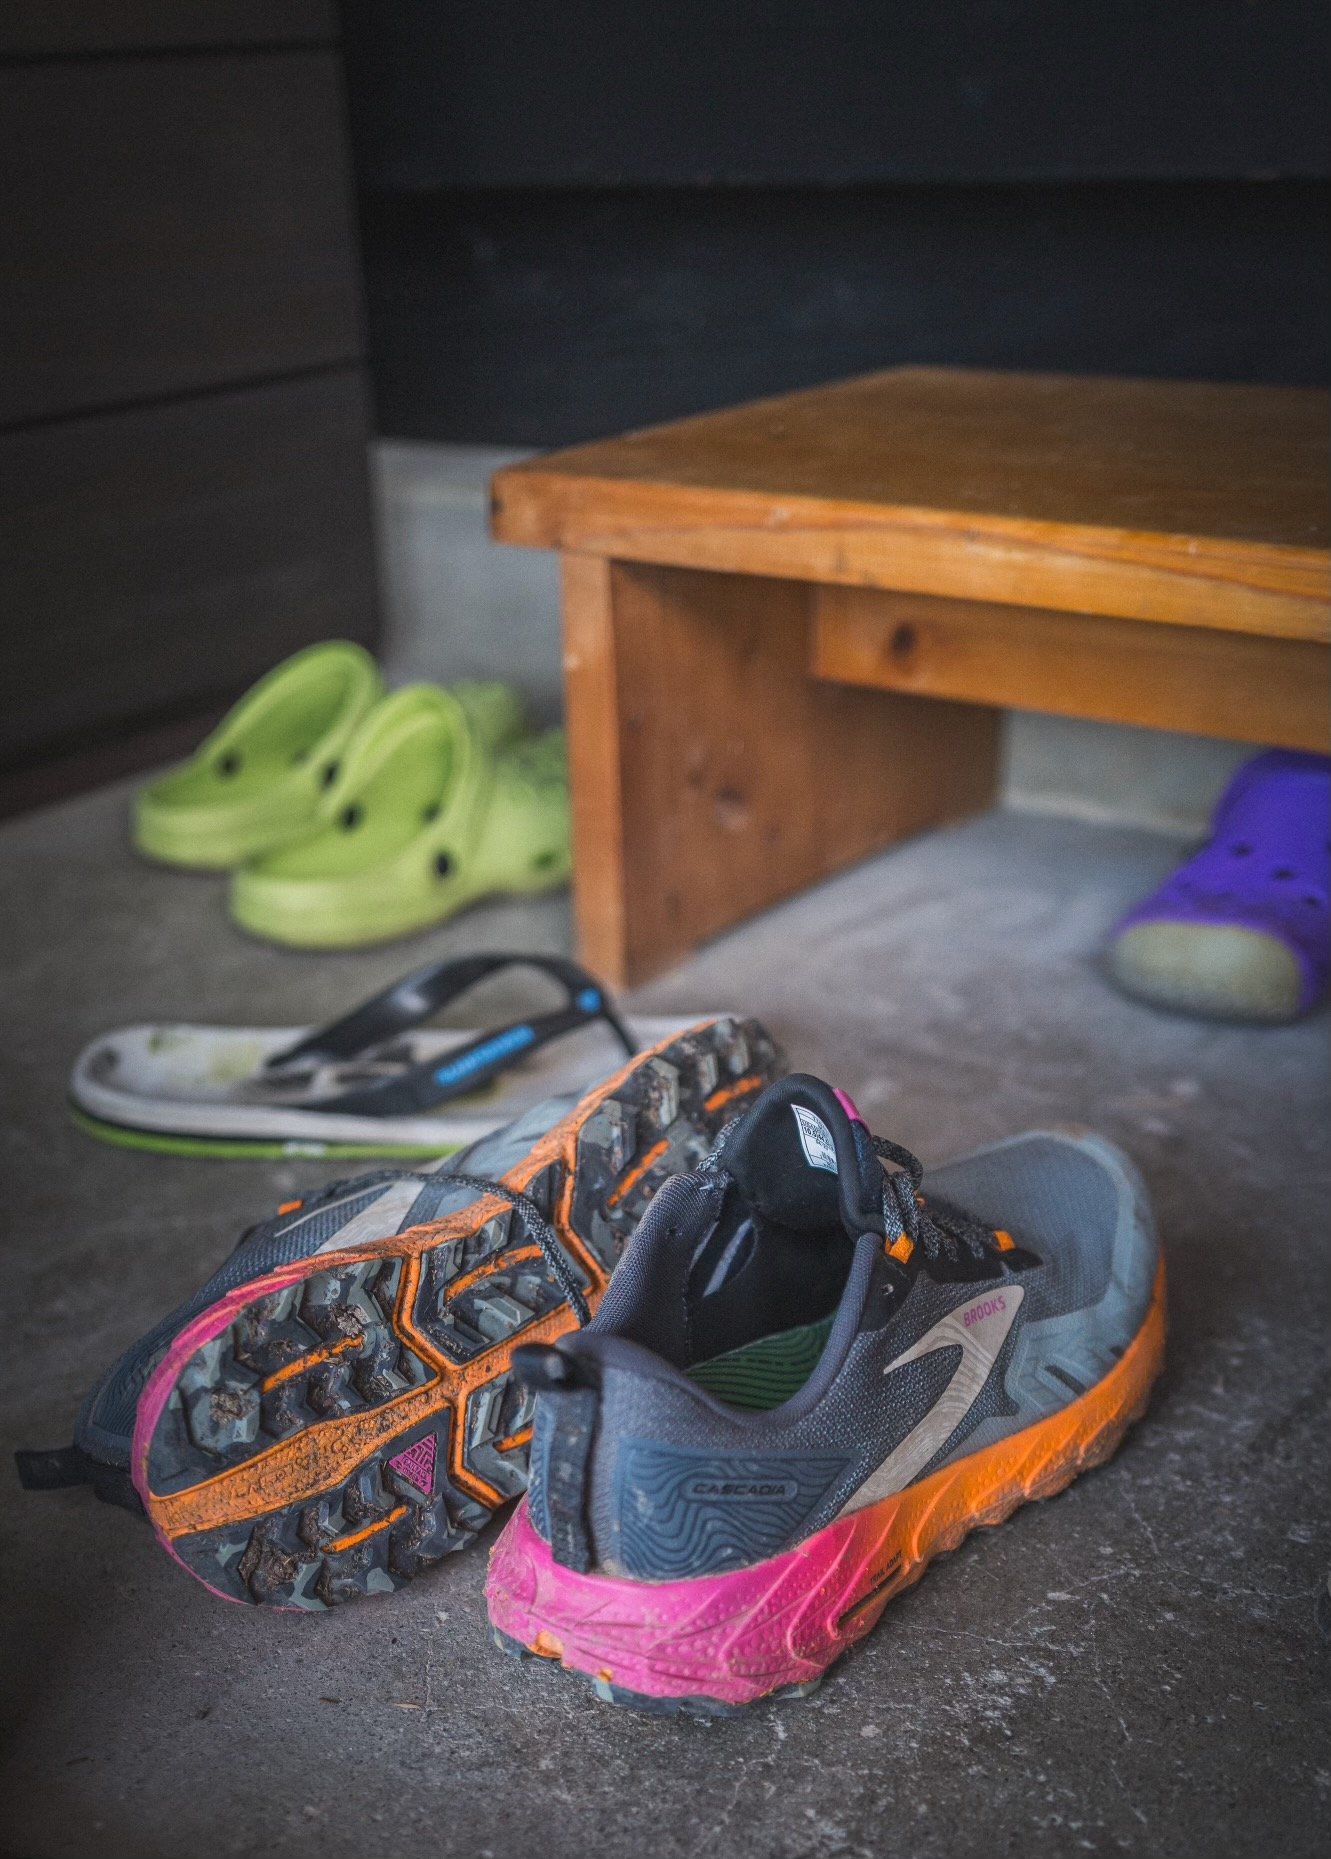
My Brooks Cascadias on the Kumano Kodo
Flexibility
Flexility often goes hand in hand with cushioning. Additional padding can impact the ability of the mid sole to flex. Over a long hike, very flexible shoes can cause fatigue on your feet; the muscles have to work more expanding and contracting with each stride. This is why running shoes are very flexible. When running, you want to spring off the balls of your feet for the extra kinetic energy it produces. For longer hikes, at a typical pace, this extra motion is not needed. In general, when walking the camino, I would avoid shoes with a stack height less than 25mm. They will not have enough padding and require your foot to do too much work on every stripe.
The other factor to flexibility is whether your shoe has a rock plate or not. A rock plate is a piece of rigid plastic in the midsole of your shoe that protects the foot from impacting sharp objects on the trail and go a long way in protecting you from rolling your ankle should you land on an odd shaped rock. The rock plate will help the shoe retain its flat shape rather than mould around the object, potentially causing you to fall off balance. I’m a big fan of rock plates in my hiking shoes. I see a significant difference in foot fatigue when hiking with and without one. Topo Traverse and Brooks Cascadia are two shoes with forefoot rock plates which I have used extensively and a big fan of.
Drop
Drop refers to the height difference in a shoe from the toe to the heel. An exaggerated example of drop is women’s high heels. They have a huge amount of drop. In trail runners, drop is typically around 5mm to 3mm, with some brands, Altra in particular, championing the benefits of zero drop - basically the shoe is perfectly flat. I have tried both zero drop and typical drop.
I hiked the Appalachian Trail in Altra Lone Peaks which have zero drop, and was very happy, but as I have gotten older I did find zero drop put strain on my achilles tendon. Due to the zero drop, my tendon has to extend to its full range with each foot fall. On the other hand, if you have sensitive balls of the feet, zero drop does a great job of mitigating the impact of front striking your foot. This was the primary reason I originally switched to zero drop. Too much drop can cause you to feel as if you are tipping forward. This is especially apparent when carrying a backpack.

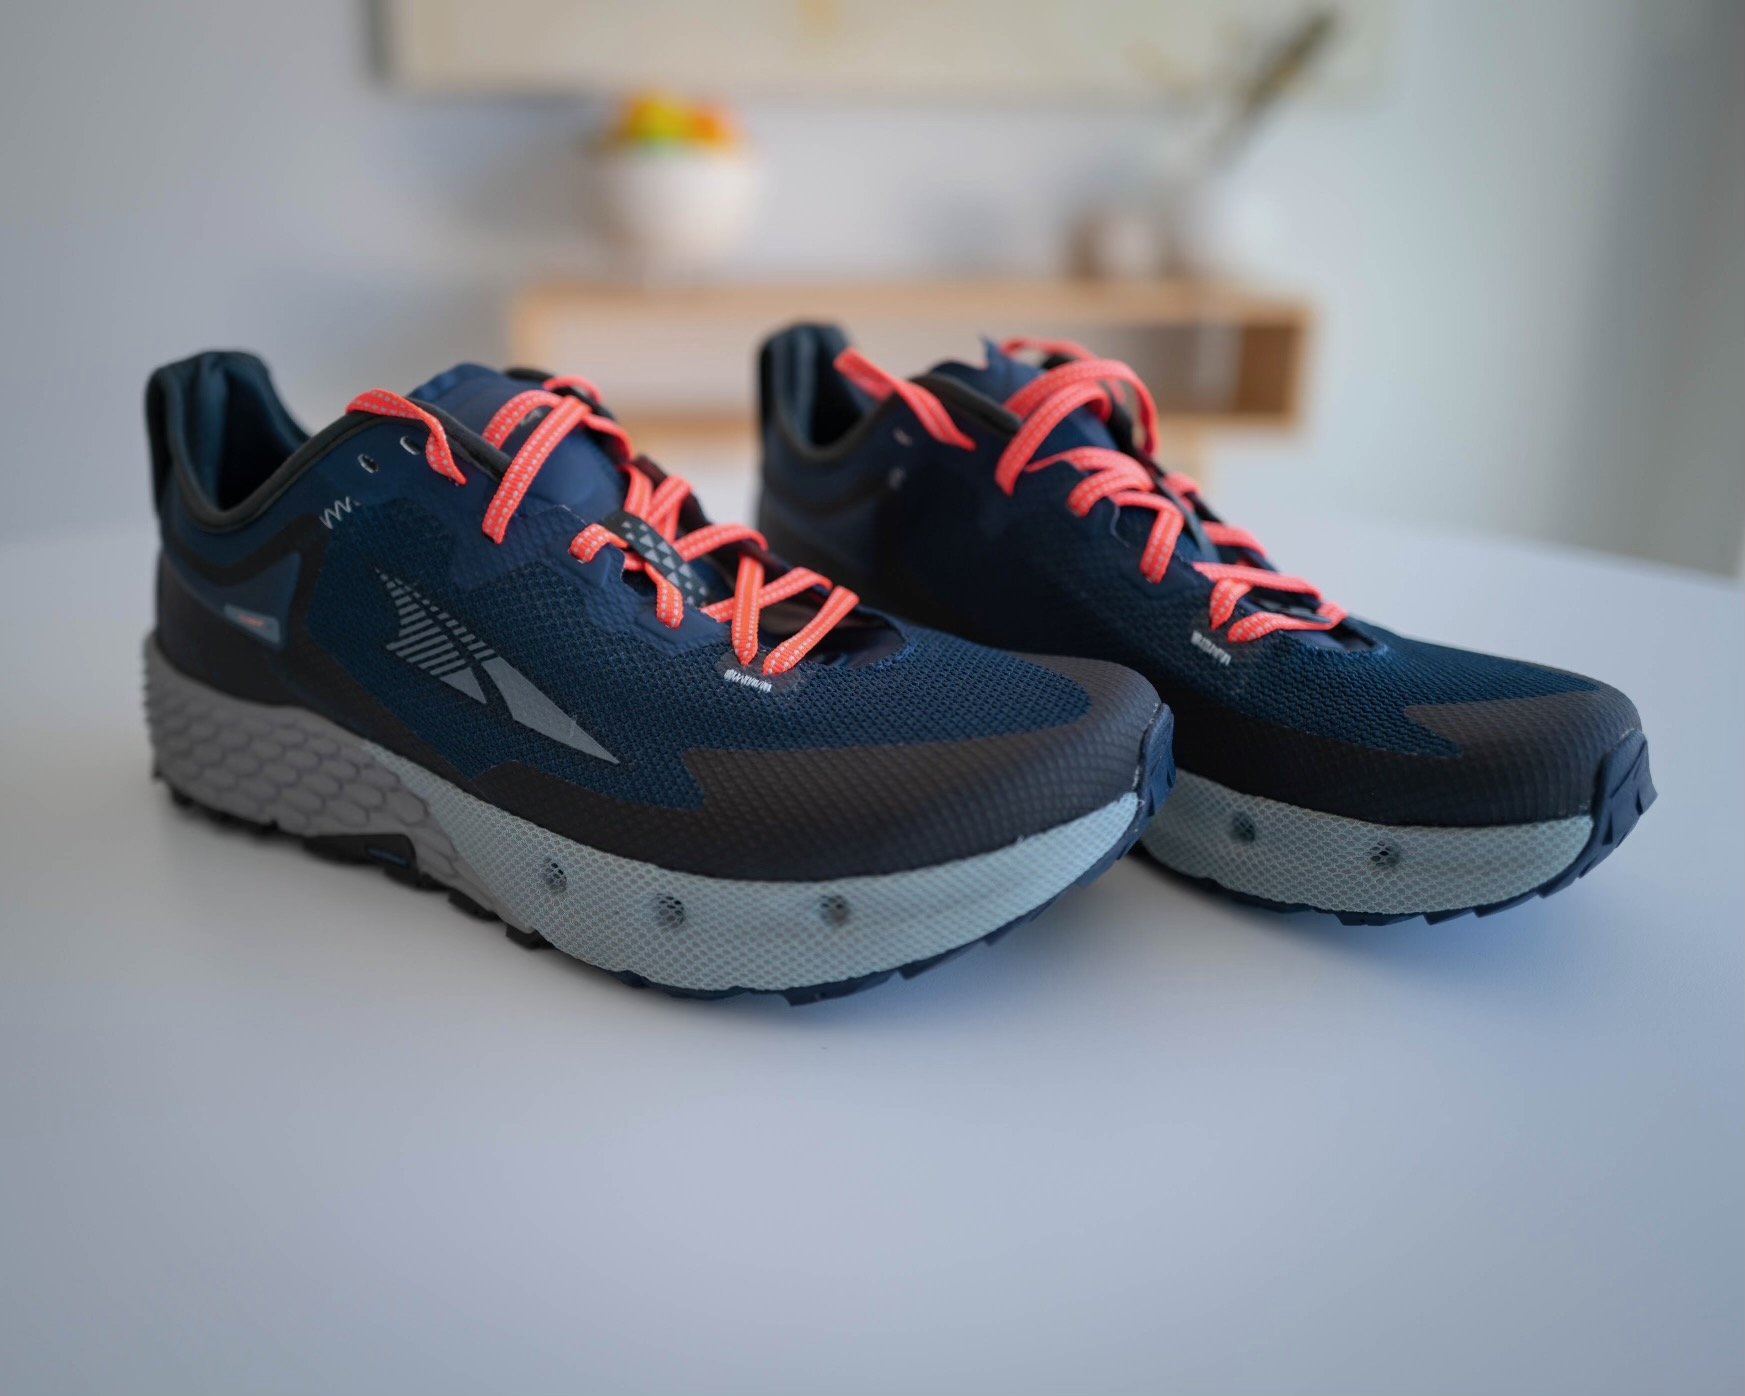
I used Altra Olympus on the Camino del Norte for the additional cushioning on the long road stretches
Drop probably isn’t going to be your highest priority unless, like me a few years ago, tenderness in the front foot was my biggest issue. If you are interested in zero drop shoes I would strongly suggest buying them from somewhere like REI who has a fantastic return policy which will let you try the shoes before committing. Further, if you find you like them after a week or two, hike frequently for a 4-6 months to give your achilles time to become accustomed to full extension before hiking for a month on the Camino de Santiago. This is especially true for women who often have tighter achilles through regular wearing of higher heeled shoes.
Toe Box & Sizing
Hiking long distances, especially in warmer seasons on the camino will cause your feet to swell. It’s not uncommon to have your feet swell up a whole size or more. When selecting shoes for the Camino, I would recommend going one size up from your regular running shoes. This will give your feet room to grow but not cause too much slippage in the heel, which can lead to blisters. If they feel a little big to start with, invest in some insoles with supportive heel cups. If you are finding that, after training hikes, your toes are getting beaten or your toenails are black, go up another half a size, and/or refer to the lacing strategies section of this article for tips on how to lace your shoes to better prevent heel slippage.
My Altra Timp 4 with custom lacing pattern
In addition to sizing for length, and width, which I discussed earlier in the article, another aspect of sizing is how much room your feet have to splay out when hiking. The vast majority of shoes we wear every day constrict your toes for a more stylish look. Squashing your toes together tightly when hiking 20-30km per day for a month on the camino however, is a sure way to bring on blisters, especially between the toes. Some shoe brands, Altra and Topos, in particular offer foot shaped toe boxes that give your toes plenty of room to breathe and splay out with each footfall. I am a huge advocate of a wide toe box, although atheistically they can look a big like clown shoes at time. Toe box is a high priority for me and a big reason I won’t hike in Hoka or Salomon; they are just too narrow in the toe for me.
Durability
On average, you should consider changing your shoes every 500-800km. It is around this time that the cushioning and support begins to break down and the risk of injury increases. This distance is also roughly the same length as the Camino Frances. Unfortunately, it is not uncommon for many shoes to begin to fall about or wear excessively before this time, especially if you factor in training hikes before you set off.
The most common type of durability issue you may face is in the tread. Extended road walk can quickly wear down tread causing the shoe to loose traction on muddy or uneven surfaces or introduce pronation or supination on foot falls. When choosing your shoes, factor in the amount of road walking you expect. If you are walking the Norte, for example, I suggest you look for shoes with a Vibram outsole. Vibram has terrific durability and can easily surface 800km+ hikes with little wear. I have found Altra shoes break down very quickly, especially on the soles. This appears to be a common complaint that thankfully Altra has listened to. I was very pleased to see the new Altra Timp 5 now comes with a Vibram sole.
Another common area prone to wear is around the toe box. I typically see glue beginning to disintegrate around the 300-500km on many shoes. I’ve seen it across all brands, in particular Altra and Topo, but it is often limited to a specific version of a shoe. For example, Altra Lone Peak 4 was known to frequently have build quality issues. Thankfully, on trail fixes are easy to take care of with a bit of superglue found in most larger towns along the camino.
In addition to factoring in walking surface of your chosen camino when selecting shoes, consider the distance you are walking. Some trails such as the Via Francigena and Via de la Plata, or even Via Podiensis all the way to Santiago may require you to replace shoes along the way. Trail runners can be expensive though, ranging from $140-200+. Replacing a $200 shoe can put a serious dent in the camino budget. For longer hikes, I would always recommend finding a cheaper fallback shoe that you can easily find in France or Spain to get you across the finishing line without hurting your budget too much. Most major brands such as Brooks, Adidas, etc all carry a good enough shoe which you can find in a local Decathlon store. Don’t expect to find more specialized brands such as Altra and Topo along the camino.
I used Altra Timp 4 on my last Camino Frances. They look like they could do another 500km
Waterproof shoes
Save your money and prevent blisters by foregoing waterproof shoes. Not only are waterproof shoes considerably more expensive than their non-waterproof counterparts, they are not a good choice for any long distance hike, especially during warmer months. Waterproof shoes are less breathable trapping heat and moisture inside which can result in blisters. And, no matter what brands market regarding keeping your feet dry, if you are caught in a storm, your feet will get wet. Water will run down your leg or pant through the opening in your shoe and stay there.
Waterproof shoes often don’t have drainage holes either meaning they take considerably longer to dry. You are better off buying a pair of breathable trail runners and a back up pair of socks if your feet get soaked on the trail. At the end of the day, take out your insoles and stuff your shoes full of paper at the Albergue. By the next morning, the paper will have absorbed all of the moisture leaving you ready to his the trails for another day.
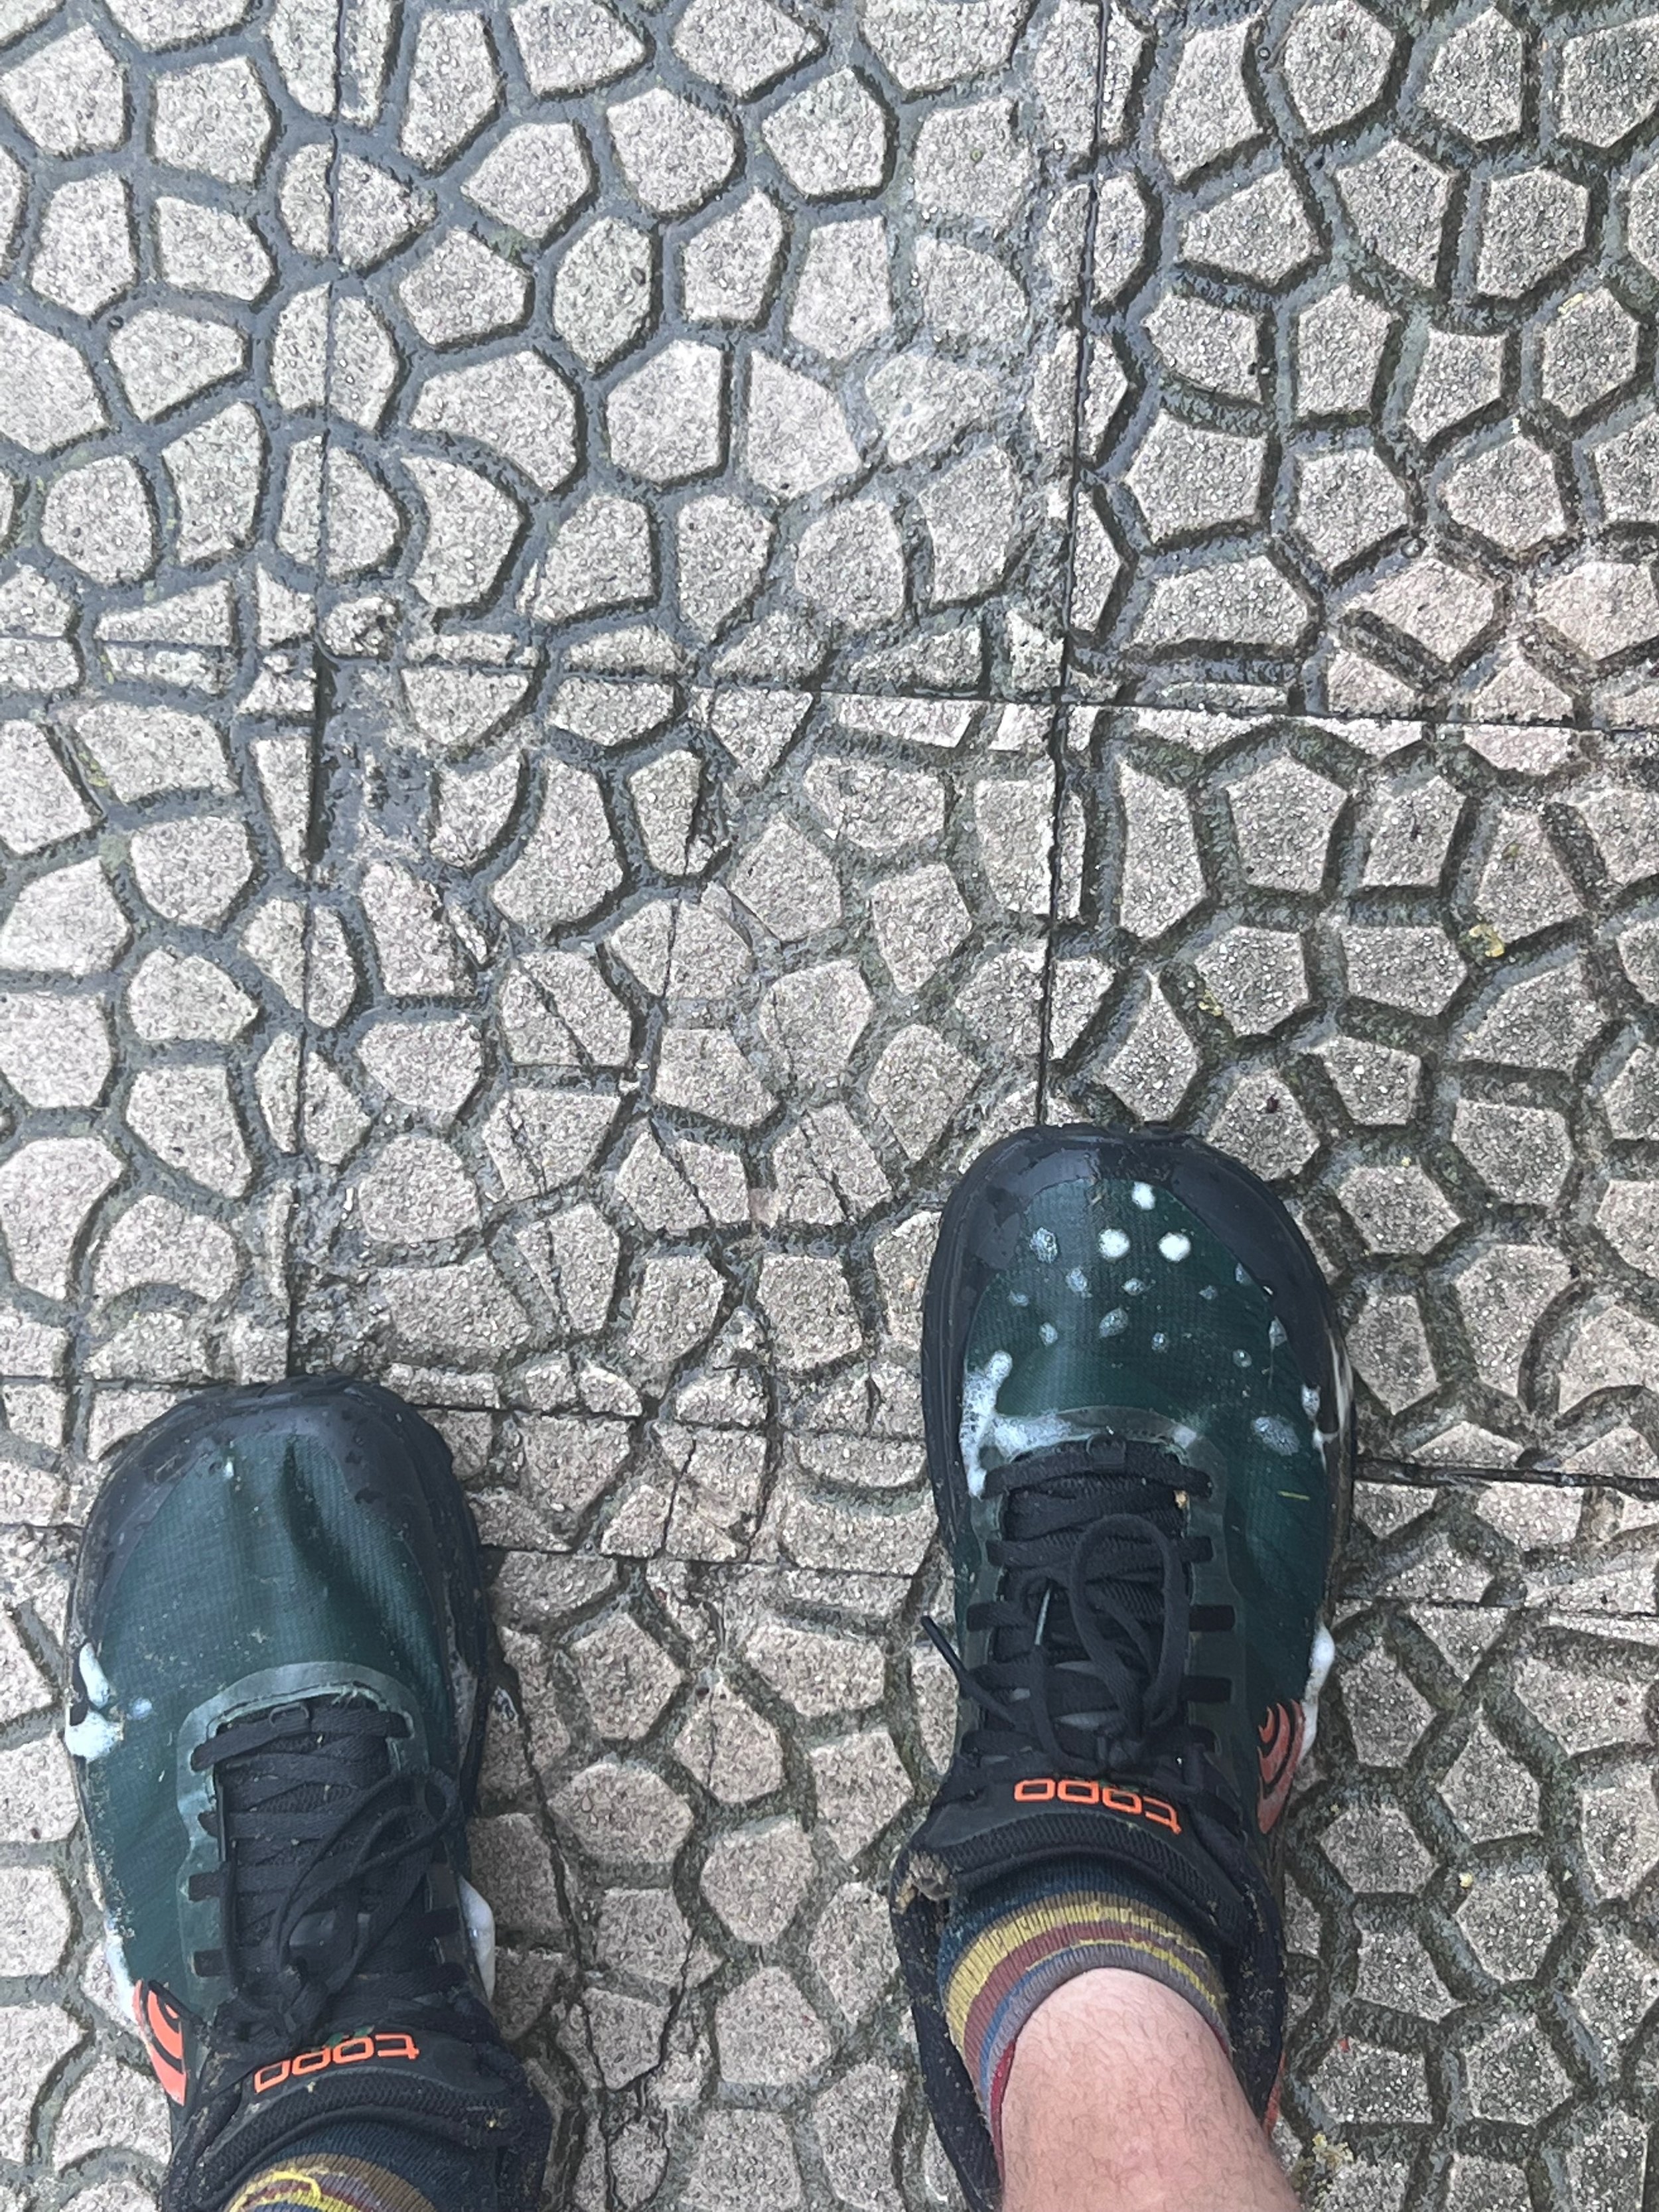
Additional benefit of non-waterproof shoes, you quickly realize that you didn’t get all the soap out of your socks from yesterday’s laundry
Lacing patterns
Whilst not directly related to a choosing the right shoe, I wanted to include a brief note regarding lacing techniques. Perhaps you found the perfect shoe for you, but you wished it was just a bit tighter in the mid section, or you are finding that despite the correct sizing, you are still getting blackened toe nails after hill descents because your foot keeps slipping forward in the shoe. All of these minor tweaks can often be remediated through different lacing patterns.
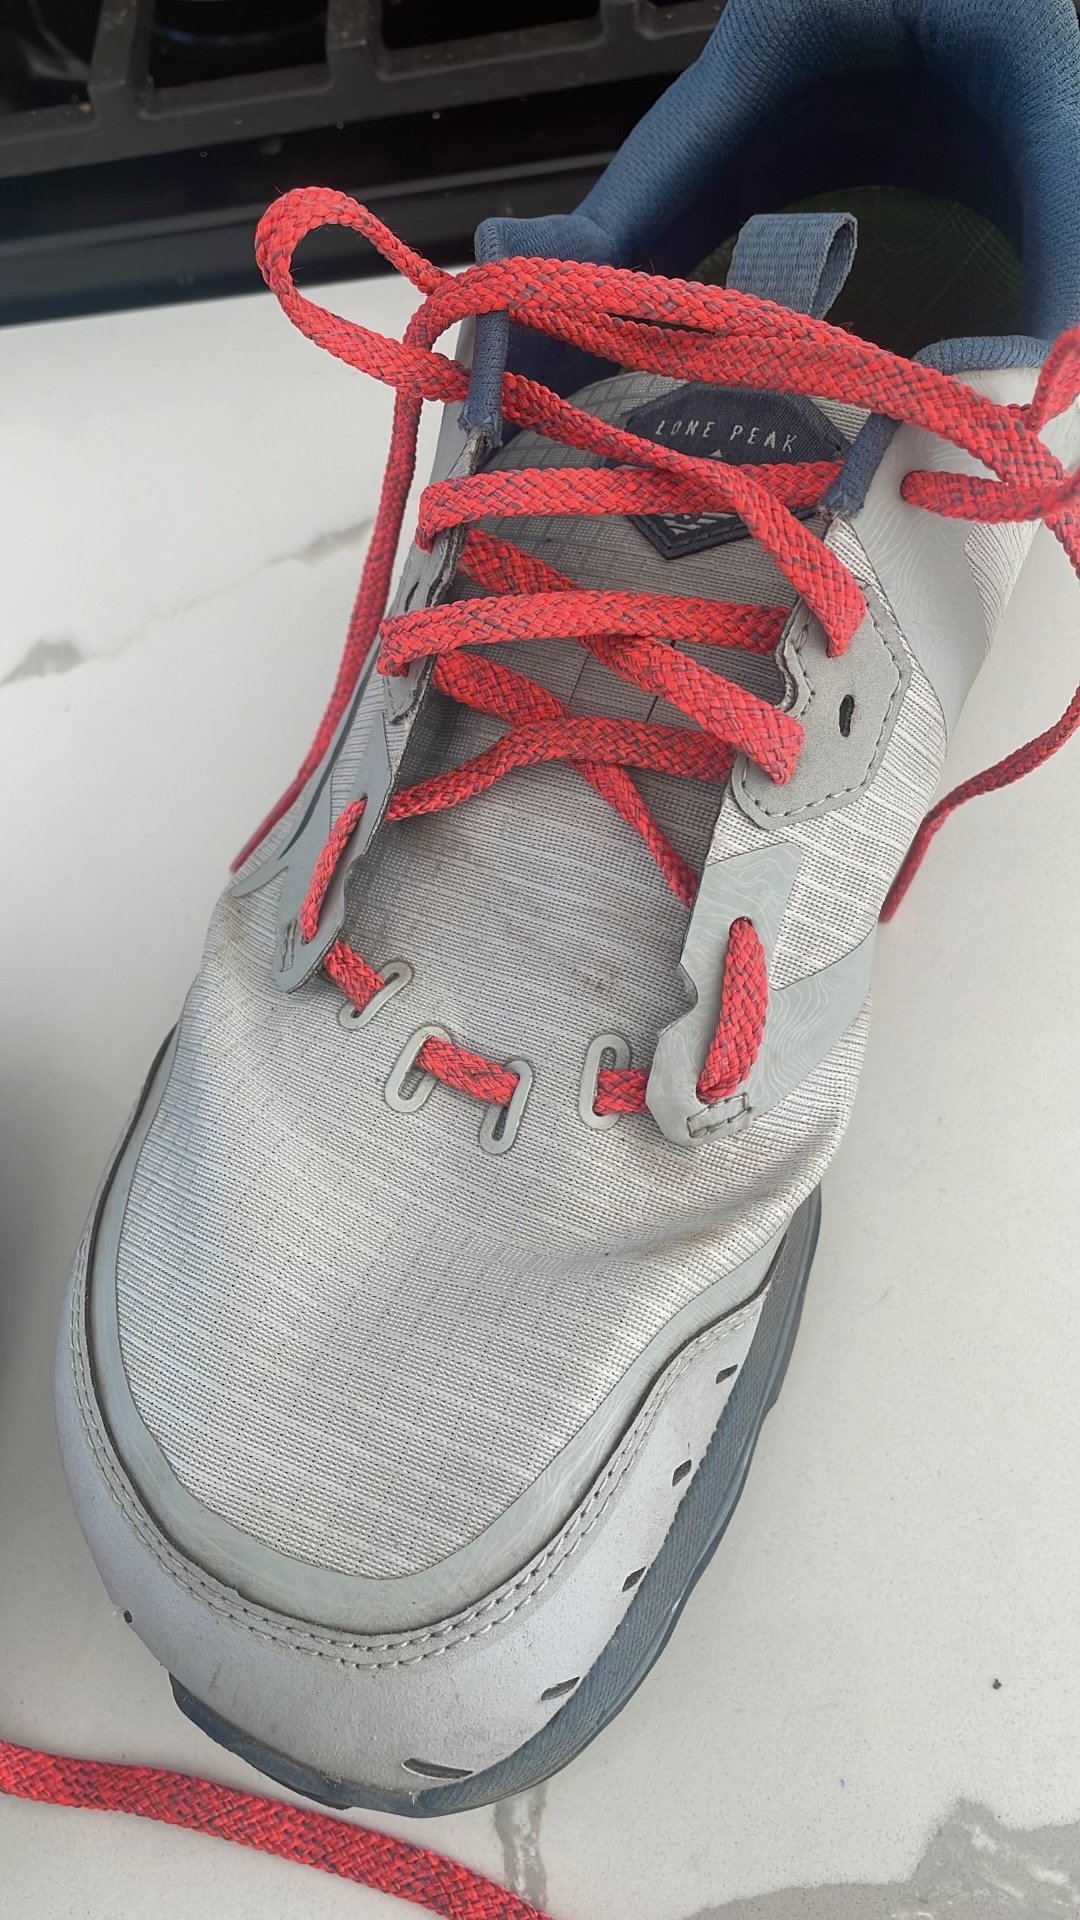
Adding a top loop in the lacing to increase lateral stability on Altra Lone Peak
The following diagram from momgoescamping.com is a great resource for your camino. Download and save it to your phone and experiment with what works best for you. It may make the difference of turning a problem shoe into your perfect shoe, especially as your feet change along your pilgrimage, or you are suffering with an injury.
For example, if I begin to feel the onset of shin splits I can mitigate it by changing my lacing pattern to reduce the tightness of my shoes in the ankle thereby allowing more blood flow and flex to alleviate stress on the shins.

Experiment with alternate lacing techniques. They can make a huge difference, esp on trail.
Summary
There you have it. I tried to do my best in summarizing more than 3 decades of hiking and running and trail and error of selecting the right shoe for your camino without being too biased to a shoe or brand that personally works for me. What shoe works for you is a very personal choice. You will have passionate people on camino forums espousing shoe x is the best, or friends who used shoe y and never had a blister. I caution you to choosing a particular shoe purely by recommendation. Start with creating your list of priorities and narrow down the selection. By creating a list of priorities for you and factoring in the Camino route you can avoid many of the most common injuries pilgrims face along the way.
Once you have a short list of shoes that match your priorities, where possible, buy shoes from an in-store retailer with a good return policy even after you have used them for training hikes. And don’t always assume that the most expensive shoe is the best. Quite often they are the worst choice by bundling in features such as waterproofing which is a recipe for blisters on the camino.
With your purchase complete, ensure that, during your training for the camino, you hike every day to test them out. Repetitive days of hiking allow you to see how your feet and the shoe adapts to the reality of walking for 30 days. If they are not perfect, return them and try another pair. You should be able to hike every day for a week in your shoes without a sign of discomfort.

The proper use of hiking boots on the Camino de Santiago
When you find that pair, put as many miles on them during training. If you have more than 200-300km before you depart on the camino, I’d recommend buying a new pair just before you leave. You don’t want the cushioning or support to break down halfway through your hike. Make sure you buy the same generation though. Many brands significantly change shoes in every iteration. For example, I loved the Altra Timp 2, but the Timp 3 just felt sloppy in the mid section causing achilles pain. Then, Timp 4 solved it and suited my hiking style again. And don’t worry about break in period. Unlike stiffer hiking boots, trail runners don’t require a break in period. Just throw them on, and don’t stop walking until you reach Santiago de Compostela.
Buen Camino pilgrim.